Spending money on your roofing has never been fun. This is why several homeowners try doing their own repairs so as to prevent spending hard-earned money.
It is understandable why some homeowners want to take this route. With the increased DIY articles and video tutorials, it is much easier for an average homeowner to handle all handle kinds of projects.
Page Contents
Required Tools
When you have children with braces, you would want to foot the bill for replacing the entire roof. But with the will and tenacity to succeed, you can choose to save on labor expenses by going the DIY route.
Whether it is your first time or you have a knack for it, you will need the right tools to handle the repair project. Some of the tools most roof replacement contractors recommend are:
- Screwdriver
- Hammer
- Nail gun
- Pitchfork or shovel
- Hose and air compressor
- Aviation snips
- Sharp knife or razor blade
- Pry bar
- Circular saw
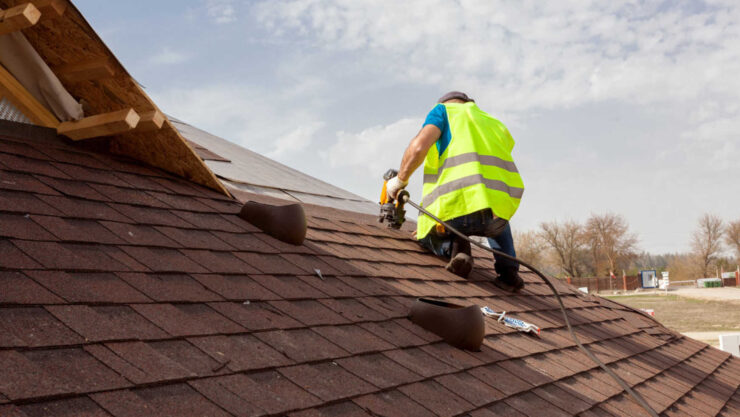
Common DIY Repairs
There are a lot of minor things an average handyperson can do, but there is a lot that an expert can handle. In order to get the most out of any roof repair project, it would be best to understand when it will be worth it to DIY and when to seek help from an experienced contractor. Some of the DIY repair projects you can handle may include the following:
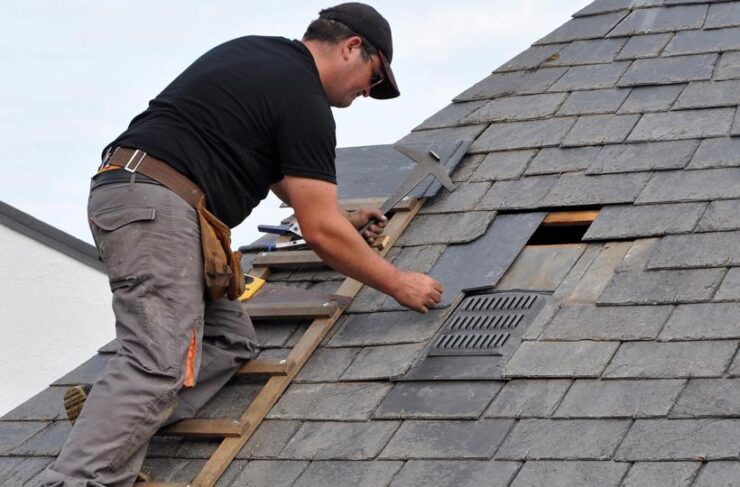
Roof’s Flashing Replacement
Flashing is one of the unsung heroes of roofing. Without it, rain and snow will get into your house constantly. Flashing is often situated around skylights, chimneys, and other roofing parts where there are gaps between shingles. It can also be present in roof valleys and edges.
Replacing flashing can be a little technical, and this kind of repair needs a professional and experienced roofer’s intervention. Although poorly done replacement of shingles can still work, doing shady work can have serious consequences.
Replacing flashing may involve removing a few rows of shingles apart from the old flashing. Plus, you may need to chip out an old mortar as well as caulking along the flashing’s edges.
Leaks Repair
The first and most important step for repairing leaks is to check the whole roofing visually. Find roofing issues, such as holes, fallen debris, or missing shingles. You can easily fix minor leaks by applying some sealant below the shingles. Without the right inspection from a contractor, underlying roofing issues won’t be found.
To look for leaks, check the roof uphill. One of the first things you need to do is roof penetrations. Items penetrating the roofing are by far the common sources of leaks. As a matter of fact, it is very difficult for leaks to occur in an open area of uninterrupted shingles.
Penetration may include chimneys, roof vents, dormers, and plumbing. They can be a few feet above the leaks or on the left or right side of it.
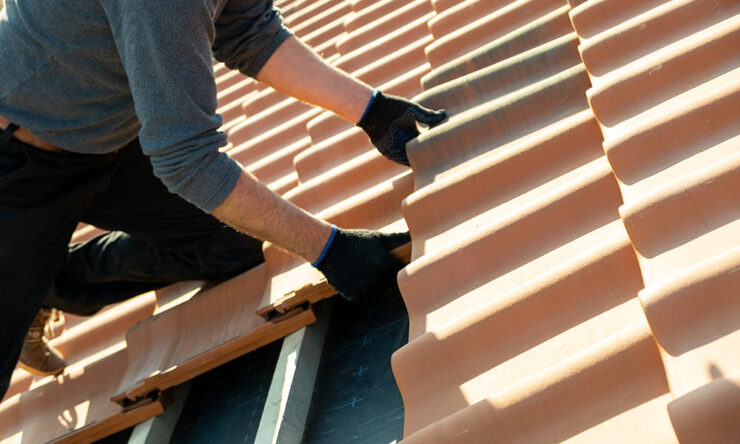
Shingle Repair
A few signs of damage may show that you have to repair shingles. For example, shingles appear discolored, missing shingles, or water stain your home’s ceiling. If you also spot a hail dent in your shingles, crooked shingles, or granules in gutters, then it is high time you replace or repair shingles.
If you have tools and some skills, you may check online how you can patch shingles by yourself. While at it, take the necessary safety precautions and research how you may effectively and safely complete the project.
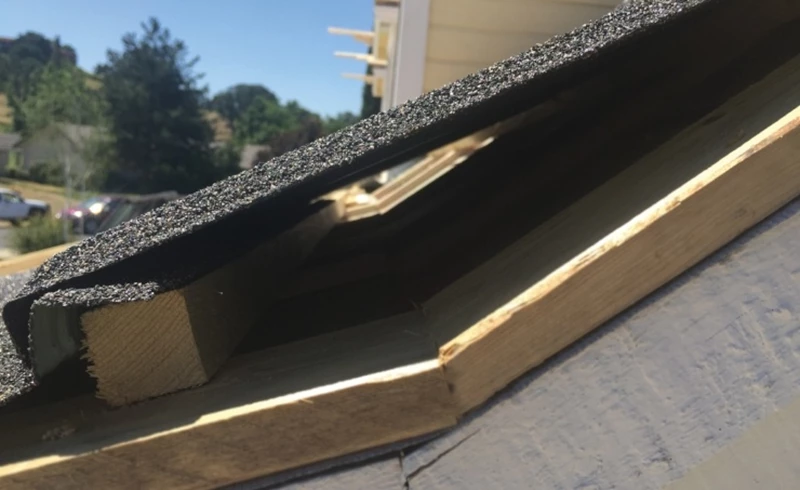
Flat Roof Repair
One common flat roof issue is water drippage if you have a pond up there. Having a pond on flat roofs isn’t a good idea. That is because gravity doesn’t push water downwards the same it often does when it is on a slant surface.
Apart from that, the flat roof’s structure is created differently because it mostly consists of roofing tar and felt. When the roofing felt gets damaged, you won’t miss it since the water sill starts dropping from the lowest spot on the surface of the roof.
Before you get started on your DIY project, it would be best first to drain water from the pond. Plus, you need to keep your roof dry by simply mopping it.
Cracks Repair
If your plywood or wood shingles have cracks because of aging or damage, you will have to take roofing cement as well as fill those cracks. Ensure you dry them out by covering those places using clear plastic for several days before putting them back on your roof.
Afterward, get sealant and clean the edge to ensure it looks good. For loose shingles, put roofing adhesive below and apply a little pressure as you press them down. But be cautious not to puncture or rip off your shingles.
Battens Repair
In some cases, roofing problems can be deep inside its structure since extreme weather is capable of potentially damaging it from within, giving way to water.
In addition to support beams, roofs are held in position with battens often used as fixing points to roof shingles or titles. If you ever come across sagging roofs, like those old barns scheduled for demolition, then it is because the battens are rotten and no longer support the roof’s weight.
Roofing or batten lathes were traditionally designed using wood. These days, they are made of metal, fiberglass, or plastic, but many residential homes still have battens made of wood.
Debris Removal
Beginning your DIY project with a safe and clean slate will help ensure you don’t miss out on any step throughout the process. A standard household broom can be enough to clear the remaining debris and dirt from your roof before diving into other DIY projects.
In addition, removing leaves, dirt, and other debris from your roof can help diver standing water and save you from more damage.
Final Touches
There are many ways you can remedy your roofing issues. Whether or not you have skills, you may safely repair your roofs within a short time. With the right tools, such as a hammer, screwdriver, and pry bar, to name a few, you can easily handle simple roof repairs.