
Embarking on DIY appliance repairs at home can be both a fulfilling and practical endeavor. In today’s fast-paced world, the ability to promptly address and rectify household appliance issues not only saves time but also reduces the expenses associated with professional services. This 2025 guide aims to empower homeowners with the necessary knowledge and confidence to tackle common appliance malfunctions. Understanding the basics of appliance repair is not just about fixing problems; it’s about gaining an invaluable skill that enhances self-reliance and home maintenance proficiency.
Page Contents
Safety First
The importance of safety in DIY appliance repairs cannot be overstated. Before attempting any repair, it is crucial to disconnect the appliance from its power source to prevent electrical hazards. Wearing protective gear such as gloves and safety glasses is imperative to protect against unexpected mishaps. A dry, well-lit workspace is essential to avoid slips and electrical risks. Keeping a first-aid kit nearby is a prudent measure. Additionally, it’s important to recognize when a problem is beyond your skill level, in which case consulting a professional is the safest course of action. Remember, prioritizing safety is not just a precaution; it’s a necessity.
Tools You’ll Need
For a successful DIY appliance repair, having the right tools is as important as having the know-how. A comprehensive toolkit should include a screwdriver set, adjustable wrenches, needle-nose pliers, a multimeter, a flashlight, and a voltage tester. Screwdrivers are essential for opening panels and adjusting components. Wrenches and pliers come in handy for manipulating nuts and bolts. A multimeter is invaluable for diagnosing electrical issues, while a flashlight helps illuminate dim work areas. A voltage tester further ensures safety by confirming the absence of live electrical currents. Investing in these tools not only equips you for current repairs but also prepares you for future maintenance tasks.
Troubleshooting Basics

The first step in troubleshooting appliance issues is keen observation. Listen for abnormal noises, notice unusual odors, and watch for performance changes. Examine the appliance for visible signs like water leaks, electrical sparks, or loose parts. Consult the user manual for specific troubleshooting tips related to the model. Understanding the appliance’s normal operation is key to identifying anomalies. Additionally, use the process of elimination: check the most common issues first before delving into more complex problems. This methodical approach simplifies the diagnostic process, making it more manageable for DIY enthusiasts.
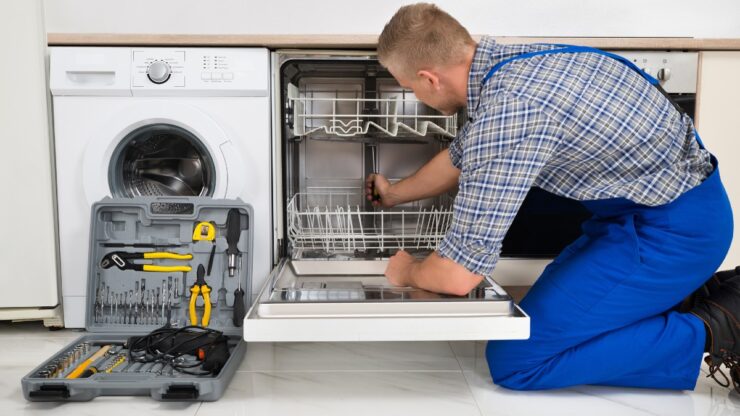
Repairing a Leaking Dishwasher
A leaking dishwasher can cause significant inconvenience and water damage. To fix this, first, identify the source of the leak. Common causes include a damaged door seal, loose hose connections, or a faulty water inlet valve. After pinpointing the issue, turn off the water supply and power to the dishwasher. Replace or repair the problematic part, ensuring all connections are tight and secure. Test the dishwasher after the repair to confirm the issue is resolved. Regular maintenance, like cleaning the filters and checking for wear and tear, can prevent future leaks.
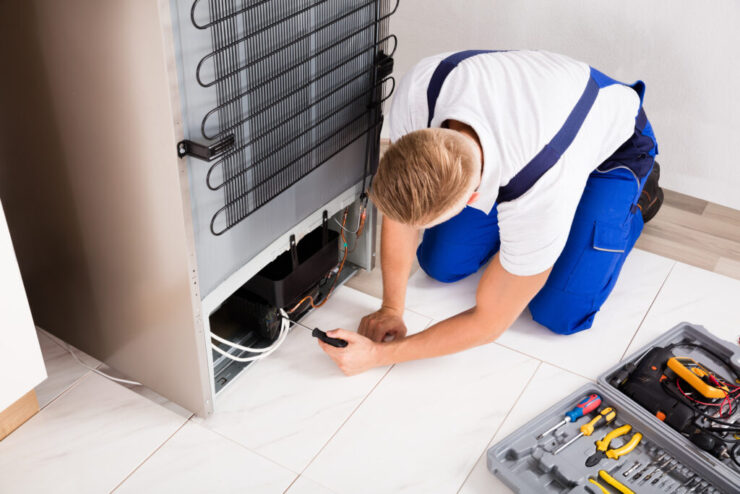
Fixing a Noisy Refrigerator
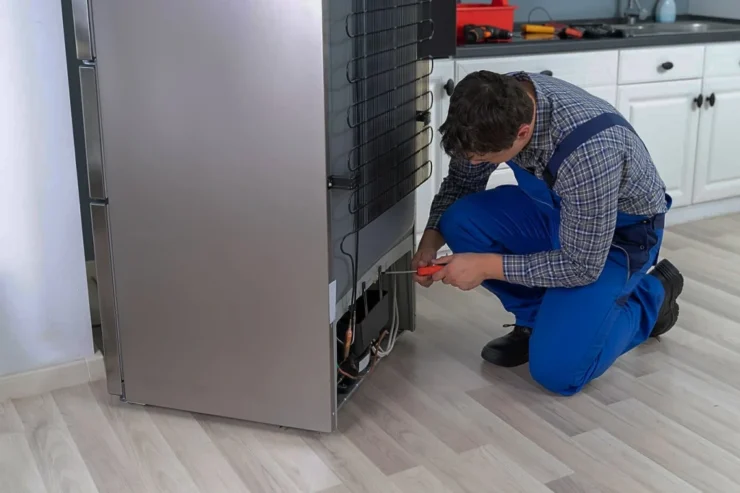
Unusual noises from a refrigerator are often due to minor issues that can be fixed easily. Common culprits include a malfunctioning evaporator fan, a worn-out condenser fan, or loose components. Start by pinpointing the noise’s origin. If it’s coming from the back, it could be the condenser fan or the compressor. For noises inside the fridge, check the evaporator fan. Tighten any loose parts and replace worn-out components. Regular cleaning of the condenser coils and ensuring the fridge is level can prevent future noise issues.
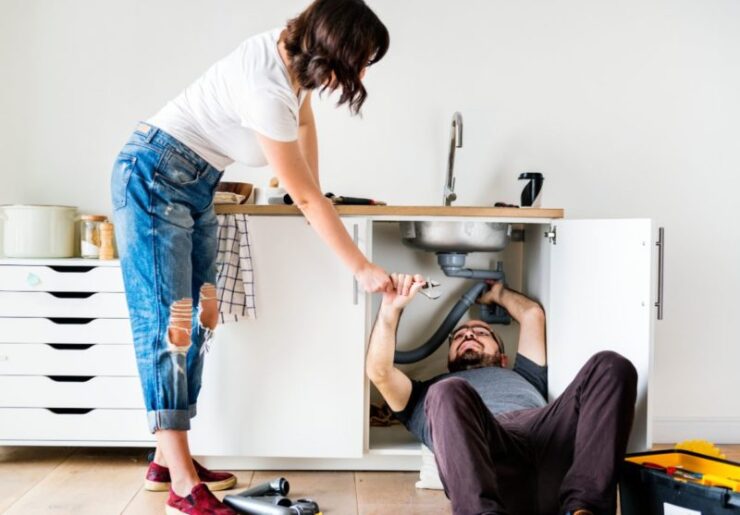
Dealing with a Clogged Washing Machine
A clogged washing machine can hinder its ability to clean effectively. The primary causes of clogs are debris in the filter, drain hose blockages, or a malfunctioning pump. To address this, first, locate the clog. Clean the filter and check the drain hose for obstructions. If the issue persists, inspect the pump for blockages or damage. After clearing the clog, run a test cycle to ensure proper functioning. Regularly checking and cleaning the filter and drain hose can prevent future clogs.
Oven Temperature Issues
If your oven isn’t heating correctly, it could be due to a faulty heating element, a malfunctioning thermostat, or calibration issues. Begin by checking the heating elements for signs of damage or wear. If they’re intact, test the thermostat to ensure it’s functioning properly. If both are fine, recalibrate the oven according to the manufacturer’s instructions. A properly calibrated and maintained oven ensures consistent cooking temperatures and optimal performance.
Microwave Not Heating
When your microwave stops heating, it’s often due to a faulty magnetron, a key component responsible for generating microwaves. Start by checking the power supply and ensuring the microwave is properly plugged in. Inspect the door seals and latches for damage, as these can prevent the microwave from operating correctly. If the issue persists, you may need to replace the magnetron or other components like the high voltage capacitor or diode. Be aware that repairing a microwave involves exposure to high voltage and should only be attempted if you’re comfortable and knowledgeable about electrical appliance repairs. If unsure, consult a professional.
Repairing a Jammed Garbage Disposal
A jammed garbage disposal is a common kitchen issue. To fix it, first, ensure the disposal is turned off and unplugged. Use a flashlight to inspect inside the disposal for foreign objects like bones or utensils that might be causing the jam. If you find something, carefully remove it using pliers or a similar tool. Never put your hand directly into the disposal. If there’s no visible obstruction, use an Allen wrench to manually turn the disposal’s motor from the bottom. This often dislodges whatever is causing the jam. After clearing the jam, reset the disposal unit using the reset button typically located at the bottom.
Washer Won’t Drain
If your washing machine isn’t draining properly, it could be due to a clogged drain hose or a malfunctioning pump. First, check the drain hose for kinks or blockages. If it’s clear, inspect the pump. Small items like coins or buttons can get trapped in the pump, obstructing the water flow. Access the pump following your washer’s manual and clear any debris. In some cases, the pump may be faulty and need replacing. Additionally, check the washing machine’s filter, often located at the front lower part of the machine, and clean it regularly to prevent future drainage issues.
Conclusion
DIY appliance repairs are a practical and satisfying way to maintain your home. This guide covers basic repairs from a leaking dishwasher to a non-draining washer. Remember, safety comes first. Use the right tools and follow each step carefully. With patience and attention to detail, you can resolve many common appliance issues. However, if you’re ever in doubt, don’t hesitate to call a professional. Your confidence and skills in home appliance repairs will grow with each successful fix, making your home more efficient and your life a bit easier.