The best investment that you can opt for making these days is solar panels, especially when you take a look at the rapidly rising power costs. By installing this system, not only will you save thousands annually, but, when it comes to the implementation expenses, you can even save some money if you decide to install them by yourself.
Although it is relatively easy to set them up, you might feel a bit overwhelmed by all the circuits you’ll be required to fasten and unite, and if so, this article might help you. The text is going to highlight several tips that you can utilize when placing solar panels on the roof of your residence. Let’s take a look:
-
Page Contents
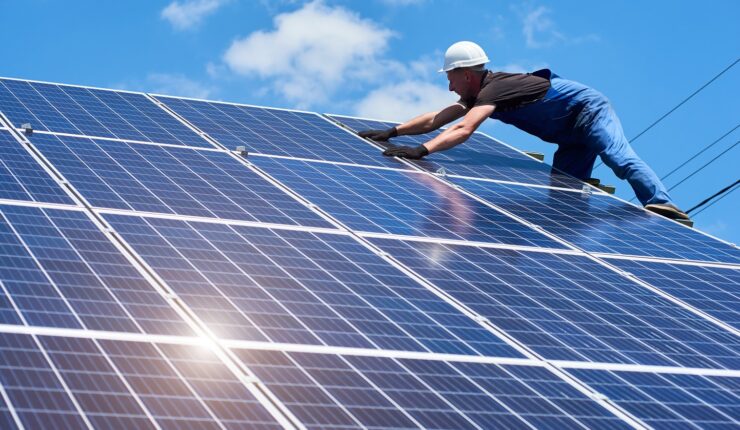
First Things First: Set The Conduit And Platform
Now, you are probably wondering – what do these things have to do with the cables in need to place? Well, the platform will guarantee that the boards are facing the sun, and when it comes to the conduit, it must have a reliable attachment from the floor to the residence. The conduit is utilized for all the lines, and it will definitely keep them safe from external factors.
The most perfect place for both of these items is, of course, your roof. But, there are a few things you must consider including that not all of them are identical, some may not have the proper amount of exposure, and some are different in size than others. Hence, before you truly build these things, consider where you’ll place the entire system and how you will reach it.
-
Join The Boards to The Main Channel
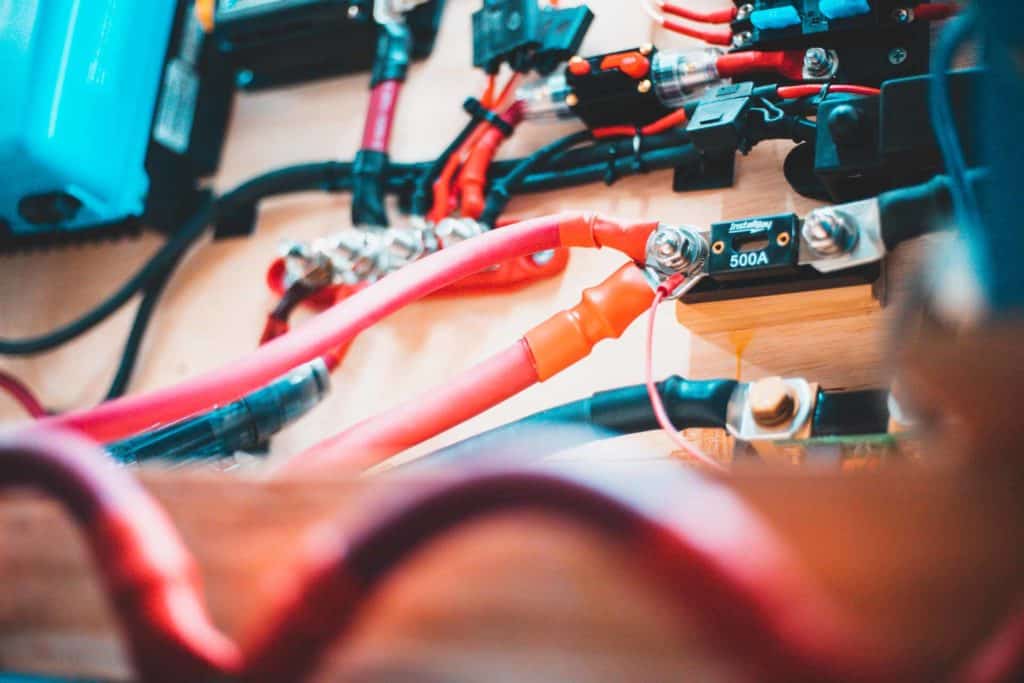
If you want to successfully complete the entire process, you’ll be obliged to obtain a connector for the junctions or a combiner that is fused. If you own one of these things, the modules must be removed and united in sets before you opt for attaching them to the fuse container that is mounted on the floor and join it with the buried conduit production lines.
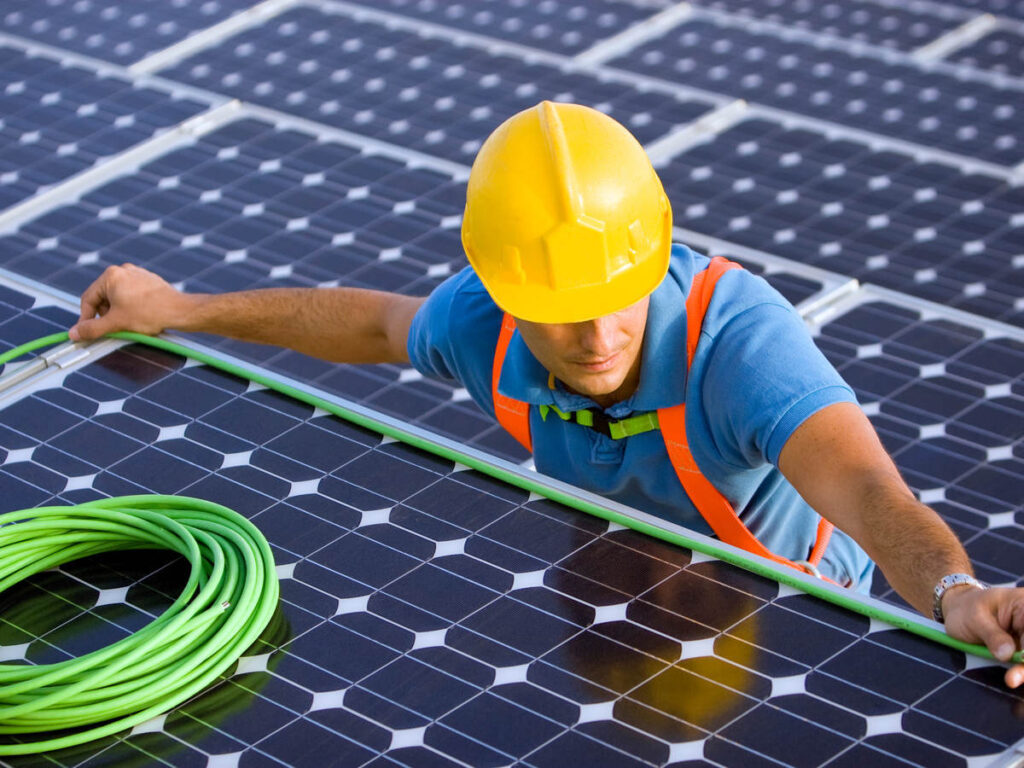
You’ll choose cables and wires properly. For instance, the products featured on ZW Cables can be utilized for various DIY plans and projects. When you choose the wires, your next move is to join them well. Hence, the red line needs to be joined to the positive monitor, and the dark ones to the neutralizing ones.
When finished with this step, they can and should be placed into the lower portion of the container, where you’ll attach them to both the positive and neutralizing charges. Of course, if you don’t feel comfortable doing this, you could always find an electrician that might complete all the work within one single day.
-
Ensure That You Know The Cable Layout
There is literally nothing more important that you must learn than the cable layout for the solar boards. If you learn everything there is about it, you’ll ensure that you could determine what the problem is if something happens later on. If you do not have experience setting everything up, you could feel somewhat confused.
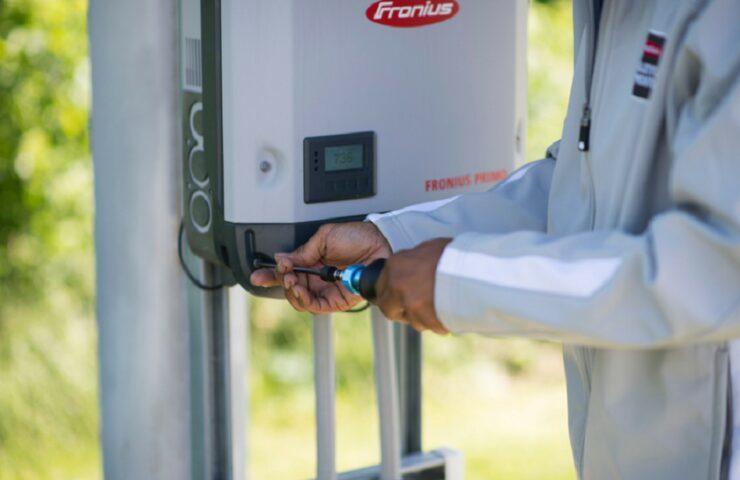
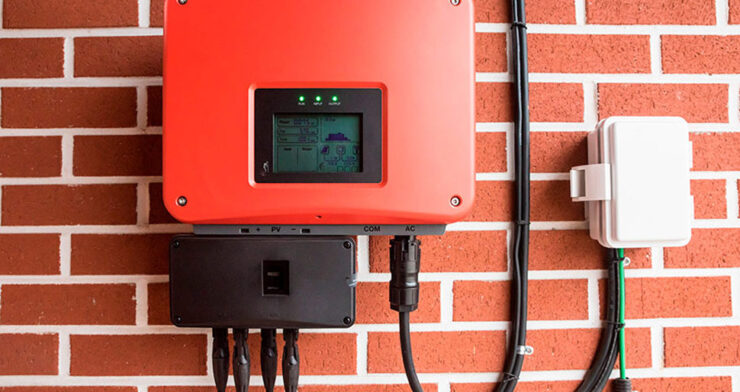
The breaker needs to be properly combined with the circuit disconnect. The power produced will then go from the disconnect to the charging monitor. When it reaches the monitor, it will remain stored with a large battery. When you need it, the energy will go from the storage area right back to the terminal and from it to the inverters that will do their thing.
When completed, the energy will be prepared for going from the electronic board and into your dwelling. If you choose to attach any back-up devices like a generator for gas or anything remotely similar need be joined to the electrical board along with the arrangement of on your roof.
-
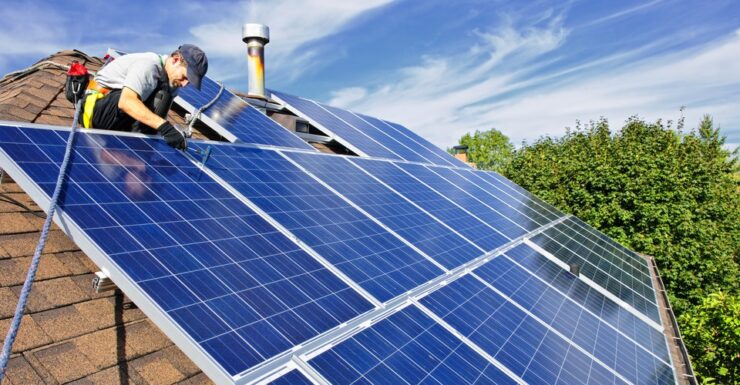
Attach The Lines to The Boards
So, now that you learned how the cable layout works, you can, at last, join them to your residence. This means that you should run the electrical wiring from the array and into your house, by utilizing the circuit located under the surface. Joining them to the fiber thread can be utilized for secure threading, next, pull it in the tubes.
You’ll also need to attach them to the combiner box which is usually situated at the foundation of the array, though, this can rely on the manufacturer and device. The green lines should go to the grounding layer, the red ones to the PV, and the dark ones to the neutralizing screen.
-
You’ll Want to Implement Grounding
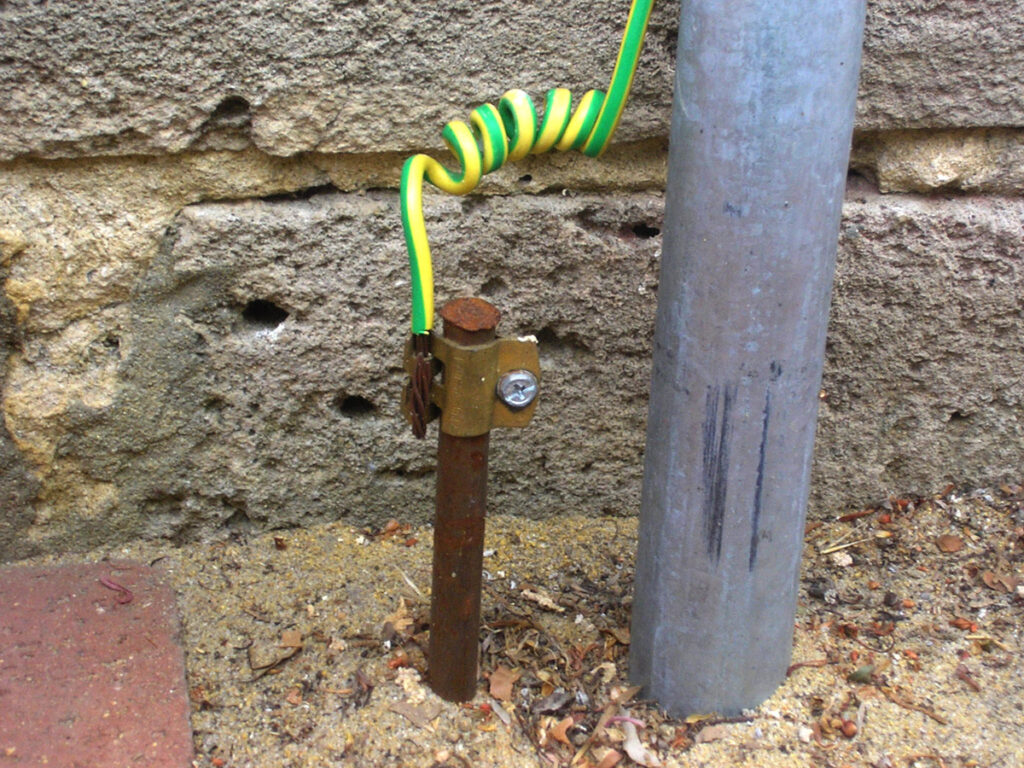
The array needs to be reliable and completely harmless for touching, you must implement a grounding system. To achieve this, you’ll want to dig a hole, bury a bar for grounding with approximately 6 inches of it piercing out of the terrain. You could choose to do this on a wooden area such as a deck or on the earth. When you are completed, you need to drive a copper coil from the bar you buried to the fuse case and from the boards to the same box. When done with all the aforementioned things, it will be properly and safely grounded.
-
Lastly, Add The Home Connections
When you are done with all the things mentioned above, you can go inside your home and finish the last of the connection process. This means that you will need to manage and guide the lines from the array to the board. Once again, you should remember that the red cord goes into the positive screen, the grounding copper wire which is usually green is attached to the surface where the rod is, and the dark ones are attached to the negative screen.
Conclusion
By following the tips mentioned in the article above, you’ll be able to properly and easily install the wires for your solar panels. Of course, it will need a bit of planning and work, but, once you are completed, you can start enjoying a wide range of benefits including saving a lot of money each year. So, now that you know that you must do, you should not lose any more of your time. Instead, start searching for the cables you need, purchase all of the tools and equipment, and start working on installing the solar panels in your home right away!