
Paint by numbers is a hobby that can be very detailed and extremely fun for many people. It can be constructive for those who want to start their life but sometimes lack the motivation to work on something more complicated. It is also a great activity to get children early in art. After you have mastered the basics of paint by numbers, you can begin to make your designs. You will discover that you have a great knack for it, just like any other art medium, and that you can do better than anyone else.
Paint by numbers is a great and fun hobby that brings the beauty of paint with the simplicity of numbers. Picking up a paint stick, choosing your color, and painting what you want to make is all that it takes. The process is straightforward and requires no special skills to pull off. Making paintings in this medium adds a whole new dimension of beauty and style to your artwork and gives you something unique.
This 10-step guide will give you an essential insight into how you can get started with paint by numbers if you are interested in learning more visit PersonalizEverything.com:
Page Contents
Step 1: Materials
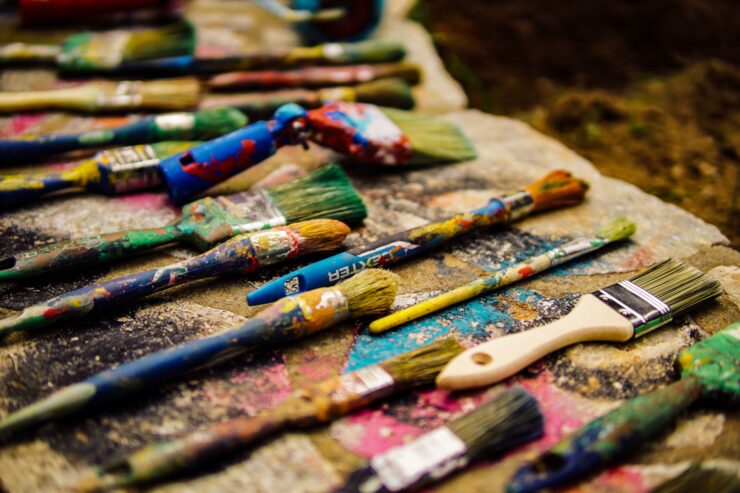
The first and without a doubt, the most important thing to do before you start is to ensure you have all the necessary paints and materials to complete your painting. Make sure you have access to a paintbrush, at least two different colors of paint, a piece of paper, a pencil, and some numbers. You may also want to apply some primer to the paper before you begin painting.
Step 2: Preparing Your Work Area
The next step is to get your work area ready. Find a big table and cover it entirely with newspaper. This is important because this is where you will be making your painting, so you must ensure you do not make a mess. Ideally, at least two people should work together because finishing the drawing and moving the paper around can be tedious.
Step 3: Choosing The Painting You Want To Make
Once you have the supplies and everything ready, choose what painting you want to make. Many websites give grand color schemes for paintings with diagrams and simple patterns for you to follow. Choose one or create your own choices where there is no specific pattern to follow. No matter what you choose to paint, it would be best if you made sure that there are numbers for the sections of the painting. Paint by numbers is a great hobby. Start creating yours at canvasbynumbers.com.
Step 4: Drawing The Painting
Make sure you have a pencil, paper, and chosen paint colors ready and start drawing the picture. You need to use a pencil, so there is nothing permanent, and you can erase it if you do not get it right by accident. It also allows for many corrections and reworking parts that may seem difficult. Part of making great paintings is planning and doing your best to get the proportions right before you begin applying paint on the canvas.
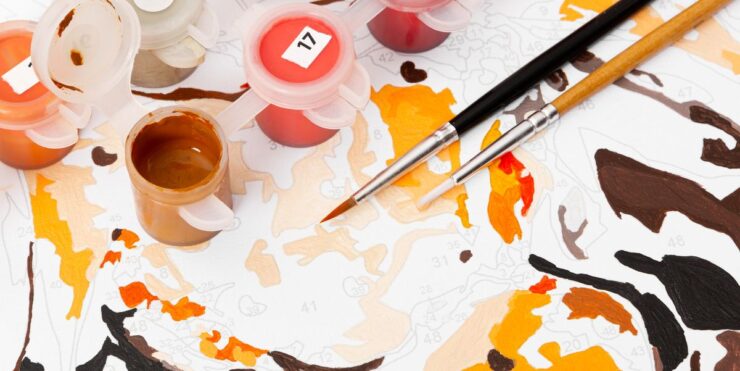
Step 5: Preparing The Paint Sticks
The next step is to get your paint ready. You should have two colors. The most common are white and black, but you can use different shades of red, yellow, blue, and others. You can use as many or as few colors as you wish, but some artists like to use only one for their canvas paintings. This gives them a lot of versatility with paint and allows them to play around more with their brushstrokes to create more beautiful portraits.
Step 6: Applying The Primary Colors
Once the paint is ready, it is time to begin applying paint onto your canvas. Start with the primary colors and fill in the white parts of the painting using your brush. Apply a thick coat of paint over these parts because it will help to form a solid foundation for other colors to stick onto as you progress. It also means that it will be easier for you or your friends to cover up these areas later if you make a mistake or want to change anything about your painting.
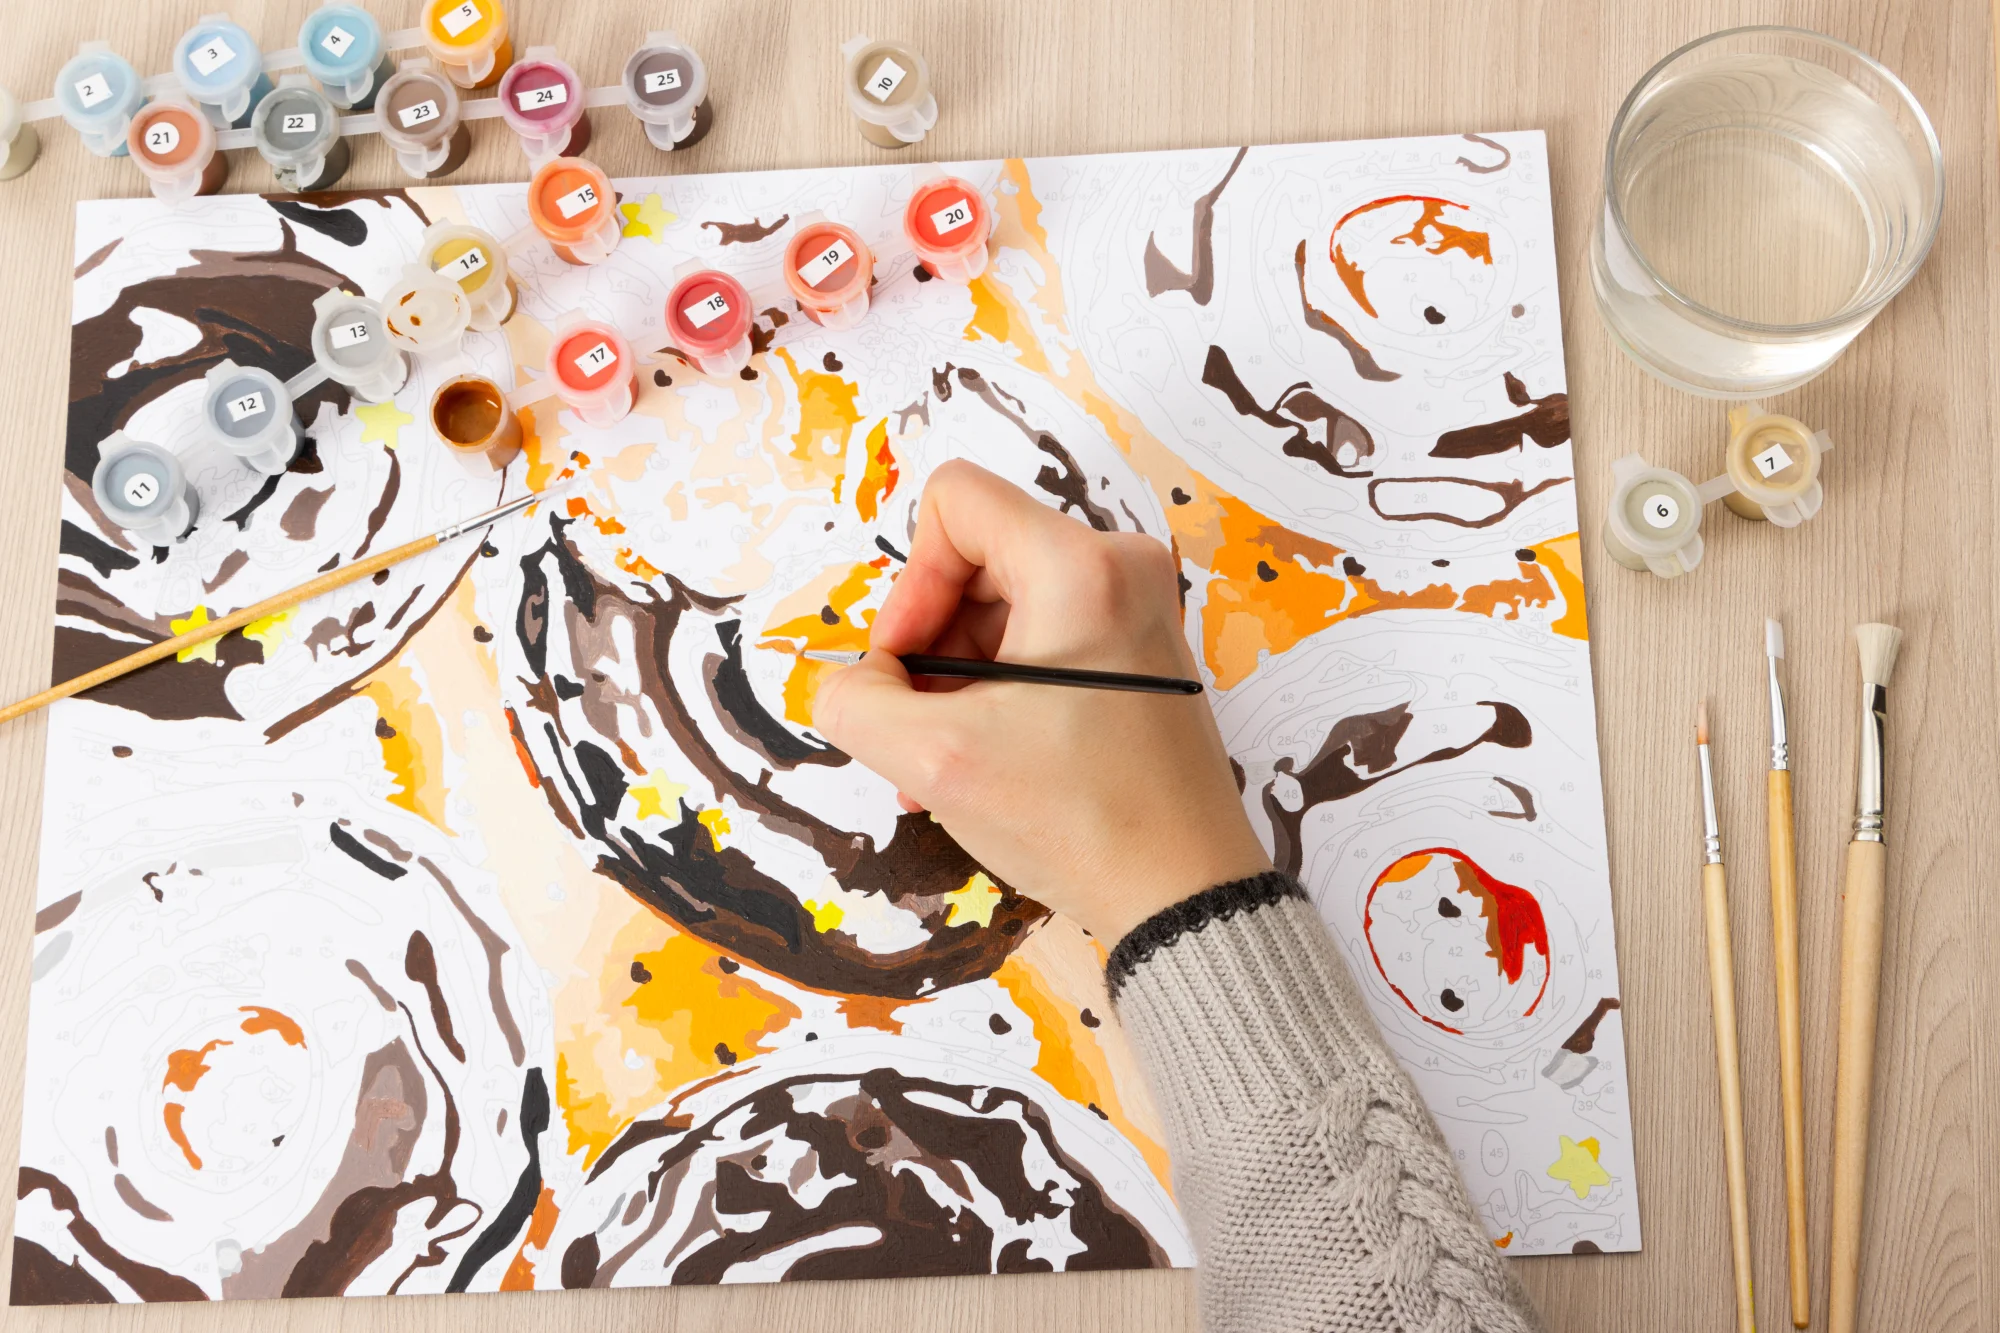
Step 7: Repetition
The next step is to choose a different color and begin painting in the places that need to be colored. You should apply a skinny coating first and then paint over the same area again with a thick coat after. This gives you effectively two coats of paint on these areas, which can help to make your painting look more solid. The trick is to apply your second coat on the brush differently to cover up any overlapping marks from your previous layer of paint.
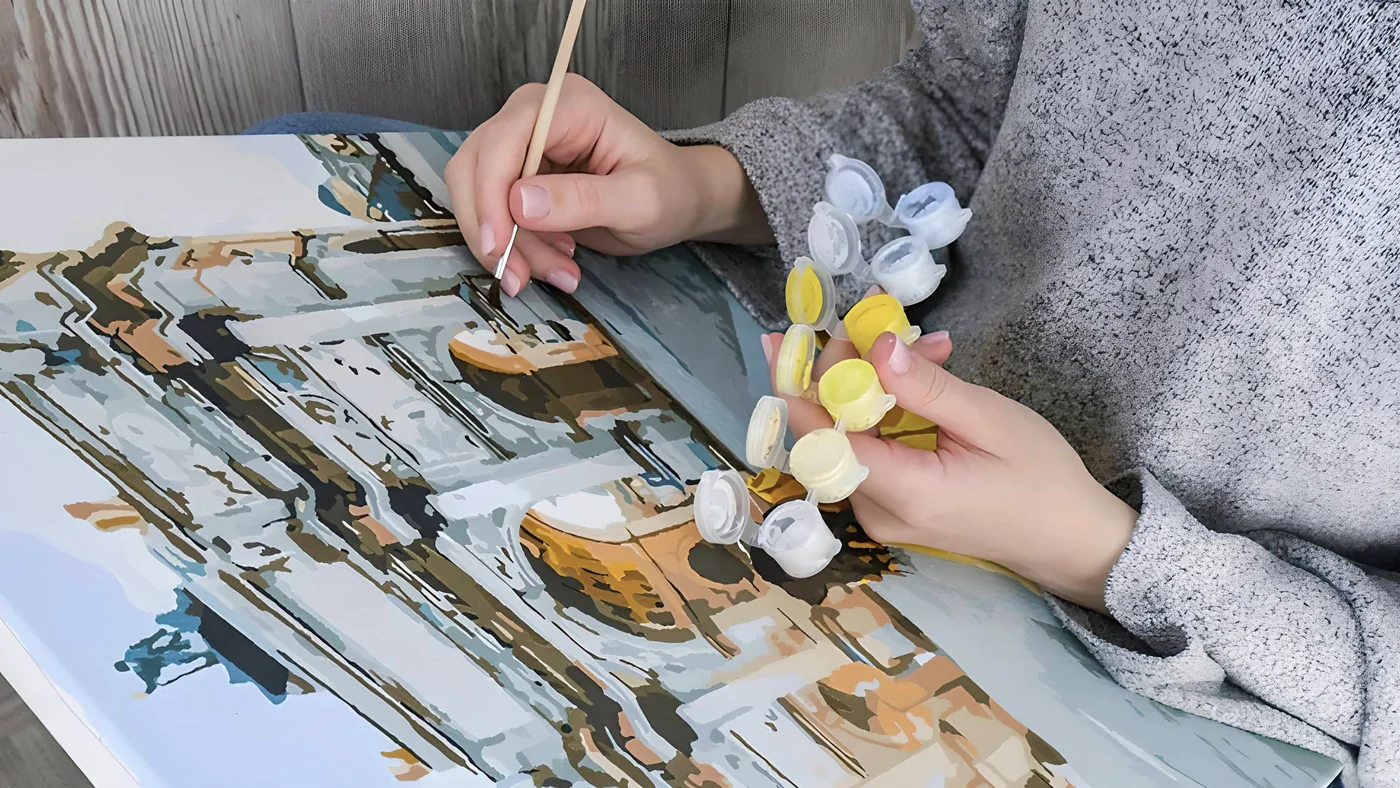
Step 8: Adding Colors To Your Painting
The next step is to work gradually towards adding more colors to your artwork. This is so that all are not applied simultaneously, making your painting look flat and unrealistic. Remember that a different layer of paint should cover every color you add. This can be a bit time-consuming, but it is worth it for the finished product. Keep applying more until you have exhausted all primary colors and wholly covered up your drawing.
Step 9: Cleaning Up The Painting
Once you begin to get towards the end of your painting, make sure you take extra care in cleaning up your artwork before moving on to the following steps, as this is an essential process in completing a great-looking painting. Use your eraser to clean up any missed edges or parts of your painting, and make sure you have your paintbrush ready so that you can quickly and easily fix any mistakes you may have made. Make sure you get all the paint and crayon marks off the work surface before moving on to the next step.
Step 10: Finishing The Painting
When you finish with your last color, you can begin covering up anything that is not meant to be seen. This will require a lot of fixing, but it will look like a breeze if you do this correctly. You can use the same techniques when applying paint to cover areas together.
Conclusion
The idea of painting a picture using the steps above is not new. It has been around for thousands of years, and artists have created many great masterpieces utilizing this technique. In recent years, modern artists have also begun to use it to create works of art that look more realistic and accurate, adding another dimension to the art world. This can also be used with drawing, which is equally fascinating to share your artistic talent with others.